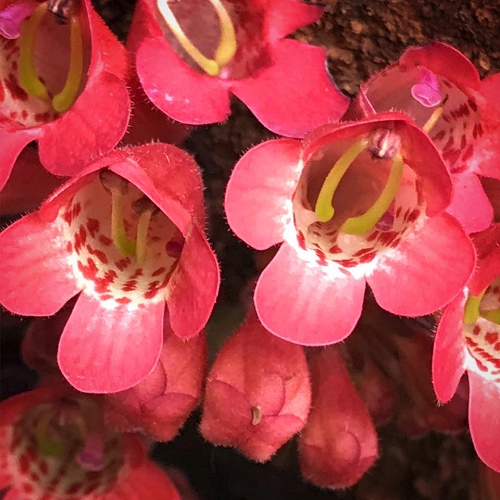
Germinating the seeds
If you have germinated Begonia seeds or tiny Gesneriad seeds before, you may use the same technique that worked for you, because germination is similar. The method below works for me. If using your own germination technique, you can skip to the "Growing onward" section halfway down the page. Getting started -- Plant your seeds when you receive them for best results. Use pots, trays, or cups, at least 2 inches (5 cm) tall. They require drainage holes. Use well-draining soil. I use a mix of 1
part
coco fiber The seeds are very small, so work in a well-lit area. Sprinkle several seeds evenly across the surface of each pot. An easy way to pick up the seeds is by breathing on your finger tip to lightly moisten it, then dabbing the seeds with it. Don't sow them too densely, because the germination rate is high. If you have long-fibered sphagnum moss (not ground peat moss), sprinkle a little over the surface. This helps retain moisture around the seeds while allowing light to reach them, which aids germination. This photo shows how much moss to use. If you don't have sphagnum moss, sprinkle a bit of your soil mix over the surface. Then add water until everything is evenly moist. Until the seeds sprout, ensure that the soil surface never dries out. To maintain moisture, you can enclose the pots in a plastic container or bag - just leave it open slightly to let in fresh air, to prevent rot. Whenever necessary, drip a few drops of water on the surface to keep it moist. This might be daily, or once a week, depending on your conditions. The seeds germinate well between 68-78 degrees
F (20-26°C) during the day, and a little cooler at night. I don't have
experience germinating them outside this temperature range. I recommend
placing a
minimum/maximum thermometer Place the containers in a bright spot out of direct sun. A fluorescent or LED bulb kept 4 inches (10 cm) above them provides the right amount of light (See: "Growing indoors with LED lights"). They should start sprouting within 3-4 weeks, but may take up to 6 weeks. Continue dripping water on the soil surface the first month after they sprout, since young seedlings have a small root system. If possible, avoid getting water directly on the leaf, although this may be inevitable while they are tiny. Fertilizing -- For the first 3 months, feed weekly with a small amount of diluted liquid fertilizer (1/8 strength). Hydroponic fertilizer is ideal for small seedlings, because it is easily absorbed and complete. After 3 months, you may switch to a granular fertilizer that contains micronutrients, or give diluted liquid fertilizer every 2 weeks. Growing onward... Watering -- Once the seedlings are about 1 inch (2 cm) long, you may stop keeping the soil surface moist at all times, but aim to keep the underlying soil evenly moist (but not fully saturated). Lighting -- It likes bright light. Some sun should be ok after 2 months if it's not strong afternoon sun. Watch for bleached or browning leaves when introducing sun. It doesn't need much sun to be happy - just very bright sun. For example, they may be grown under an LED panel (See: "Growing indoors with LED lights"). Climate -- It comes from a mild climate with cooler nights, so consider it experimental in very hot conditions with warm nights. Established plants should handle down to 40°F (4°C), but they need protection from freezing temps. Over about 40% humidity is best. If your plants seem to suffer from low humidity indoors, consider using an ultrasonic humidifier, sold at home improvement stores, on Ebay, and in some thrift shops. Transplanting -- When the seedlings are 2-3 months old, you may carefully dig them up and transplant them. Use slightly extra perlite with your soil mix when transplanting them. Avoid using an overly large container. A plant with a foot-long (30 cm) leaf may be grown in a 4 inch (10 cm) wide pot, and a fully mature plant can be grown in a 5-6 inch (13-15 cm) wide pot. Since the pot is relatively small, the soil may be prone to drying out quicker, and may need more frequent watering. If the leaf end turns brown, it usually means the roots have not been moist enough. You may trim away the brown area. If the leaf grows too big for your space, you can trim it shorter. This will not affect its ability to flower. Flowering -- When the flower stem begins to emerge, give it a cool spot at night to deepen the flower colors - perhaps on the floor of a cool room. Or you can put it outside if temperatures stay above freezing. Pests - Watch for any pests that can affect your other plants. Periodically check for mealy bugs under the leaves. If you have any questions or problems, feel free to contact me. Have fun growing them! - Jeff Strange Wonderful Things
|
|||||||||


